Axios是一个基于 Promise 的 HTTP 客户端,我们可以在浏览器和 Node.js 中使用它。Axios 使向 REST 端点发送异步 HTTP 请求和执行 CRUD 操作变得更加容易。它可以在纯 JavaScript 中使用,也可以在 Vue 或者 React 之类的库中使用。
先看一个在浏览器中使用 Axios 的例子,我们发送一个请求到https://api.github.com/users/USERNAME,以获取到用户的一些信息。
新建一个名为 1.html 的文件,代码如下:
1
2
3
4
5
6
7
8
9
|
<!DOCTYPE html>
<html>
    <head></head>
    <title>Axios</title>
    <body>
        <script src="https://cdn.jsdelivr.net/npm/axios/dist/axios.min.js"></script>
        <script src="main.js"></script>
    </body>
</html>
|
main.js 代码如下:
1
2
3
4
5
|
axios.get("https://api.github.com/users/andyfree96").then(response => {
    console.log(response.data);
}).catch(error => {
    console.log("ERROR!");
});
|
启动服务器,
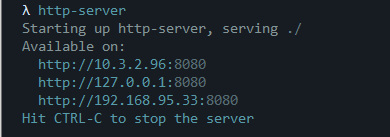
如果您没有安装http-server的话,请自行安装一下。
打开浏览器,就可以看到:
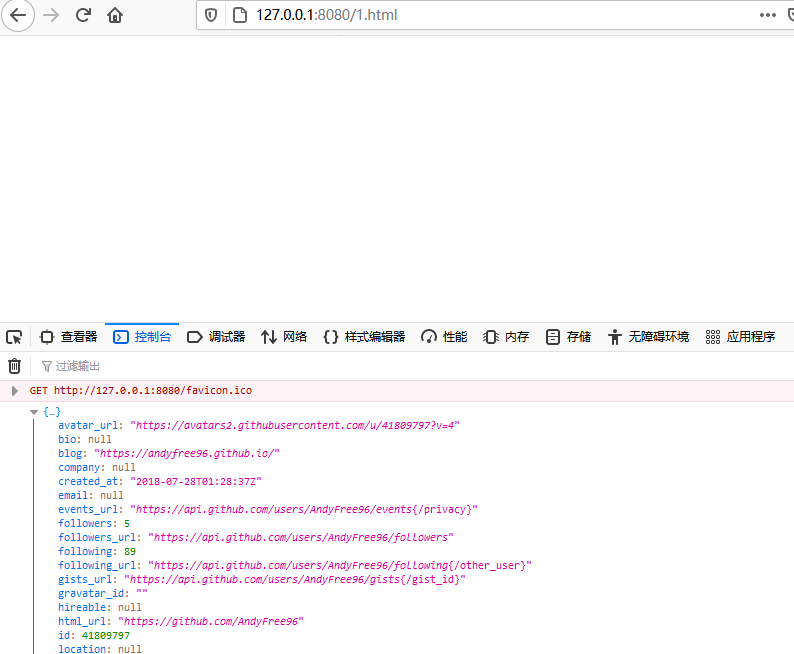
成功获取到用户信息。
之后的教程将在 Node.js 中使用 Axios,而不是在浏览器。
安装 Axios
本文使用的 Node.js 版本是:

初始化一个 Node.js 应用,
在命令行中输入npm i axios安装即可。
Axios 的响应对象
当我们发送一个请求给服务器后,它会返回一个响应。Axios 的响应对象包含如下内容:
data - 服务器返回的响应主体数据status - 服务器返回的响应状态码statusText - 返回的状态信息headers - 返回的头部信息config - 请求的配置信息request - 请求对象
Axios 的 GET 请求
我们以回调函数或者 async/await 的方式发送 Get 请求。
回调函数:
1
2
3
4
5
6
7
|
const axios = require("axios");

axios.get("https://api.github.com/users/andyfree96").then((response) => {
  console.log(response.status);
  console.log(response.statusText);
  console.log(response.data);
});
|
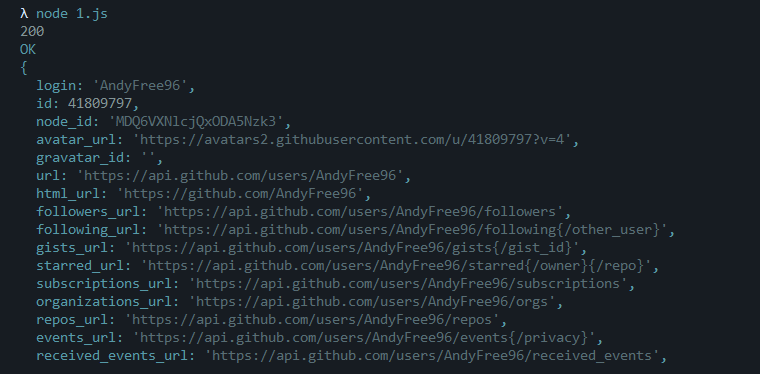
结果如下:
async/await:
 1
 2
 3
 4
 5
 6
 7
 8
 9
10
|
const axios = require("axios");

async function makeGetRequest() {
  let response = await axios.get("https://httpbin.org/get");
  let data = response.data;
  console.log(data);
  console.log(response.request._header);
}

makeGetRequest();
|
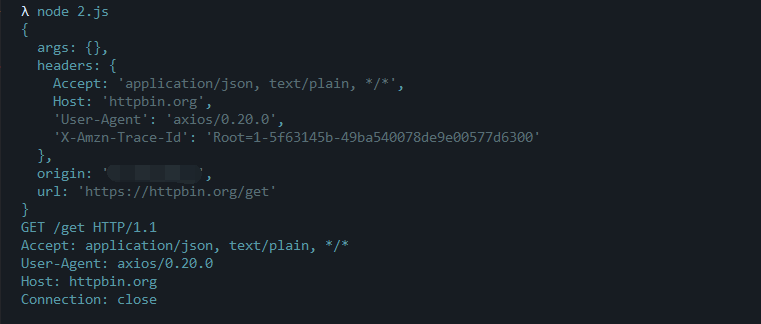
结果如下:
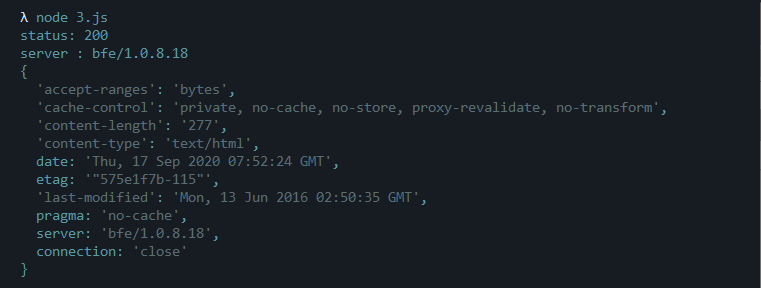
Axios 的 HEAD 请求
HEAD 请求是一个没有消息体的 GET 请求。
 1
 2
 3
 4
 5
 6
 7
 8
 9
10
|
const axios = require("axios");

async function makeHeadRequest() {
  let response = await axios.head("http://www.baidu.com");
  console.log(`status: ${response.status}`);
  console.log(`server : ${response.headers.server}`);
  console.log(response.headers);
}

makeHeadRequest();
|
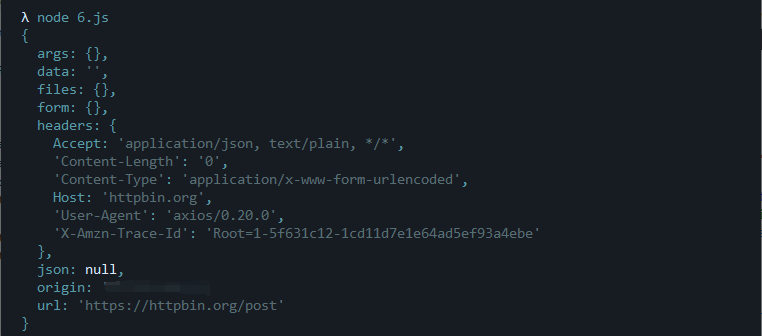
Axios 有两个基本的 API:
axios(config)axios(url, config)
 1
 2
 3
 4
 5
 6
 7
 8
 9
10
11
12
|
const axios = require("axios");

async function makeRequest() {
  const config = {
    method: "get",
  };
  const url = "http://httpbin.org/get";
  let response = await axios(url, config);
  console.log(response.data);
}

makeRequest();
|
Axios 自定义头部
 1
 2
 3
 4
 5
 6
 7
 8
 9
10
11
12
13
|
const axios = require("axios");

async function makeRequest() {
  const config = {
    method: "get",
    url: "http://www.baidu.com",
    headers: { "User-Agent": "5.js" },
  };
  let response = await axios(config);
  console.log(response.request._header);
}

makeRequest();
|
这里我们自定义了一个请求头部:
1
2
3
4
5
|
const config = {
  method: "get",
  url: "http://www.baidu.com",
  headers: { "User-Agent": "5.js" },
};
|

Axios 的 POST 请求
1
2
3
4
5
6
7
8
|
const axios = require("axios");

async function makePostRequest() {
  let response = await axios.post("https://httpbin.org/post");
  console.log(response.data);
}

makePostRequest();
|
下载图片
 1
 2
 3
 4
 5
 6
 7
 8
 9
10
11
12
13
14
|
const axios = require("axios");
const fs = require("fs");

async function getImage(url) {
  const config = {
    responseType: "stream",
  };
  let response = await axios.get(url, config);
  response.data.pipe(fs.createWriteStream("./image.png"));
}

getImage(
  "https://himg.bdimg.com/sys/portraitn/item/856f6c656f73636f74743936f939"
);
|
我们在 config 对象中指明返回类型。
多个请求
我们可以用 Axios 一次性创建多个请求。
 1
 2
 3
 4
 5
 6
 7
 8
 9
10
11
12
|
const axios = require("axios");

async function makeRequests() {
  let [response1, response2] = await Promise.all([
    axios.get("https://api.github.com/users/andyfree96"),
    axios.get("https://api.github.com/users/google"),
  ]);
  console.log(response1.data.created_at);
  console.log(response2.data.created_at);
}

makeRequests();
|

JSON Server
JSON Server 是一个很棒的工具,可以让我们轻松地伪造 REST API。
我们先安装json-server:
创建一个名为 employees.json 的文件,添加如下内容:
 1
 2
 3
 4
 5
 6
 7
 8
 9
10
11
12
13
14
15
16
17
18
19
20
21
22
|
{
  "employees": [
    {
      "id": 1,
      "first_name": "Sebastian",
      "last_name": "Eschweiler",
      "email": "sebastian@codingthesmartway.com"
    },
    {
      "id": 2,
      "first_name": "Steve",
      "last_name": "Palmer",
      "email": "steve@codingthesmartway.com"
    },
    {
      "id": 3,
      "first_name": "Ann",
      "last_name": "Smith",
      "email": "ann@codingthesmartway.com"
    }
  ]
}
|
关于 JSON Server 创建 REST API 可以看下文。
Create A REST API With JSON Server: https://medium.com/codingthesmartway-com-blog/create-a-rest-api-with-json-server-36da8680136d
接下来我们可以启动 JSON Server,
1
|
json-server --watch employees.json
|
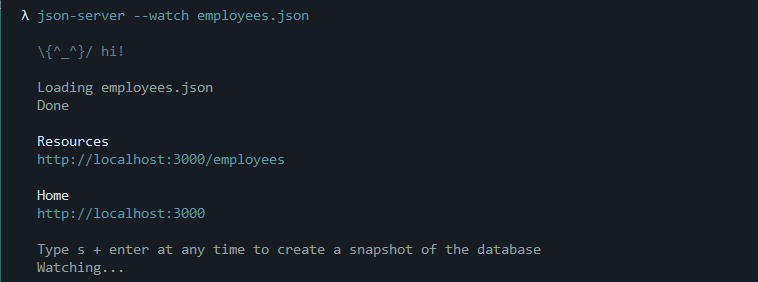
访问http://localhost:3000/employees可以看到:

接下来我们可以使用 Axios 添加员工,
 1
 2
 3
 4
 5
 6
 7
 8
 9
10
11
12
13
14
|
const axios = require("axios");

async function makePostRequest() {
  const params = {
    id: 4,
    first_name: "Andy",
    last_name: "Scott",
    email: "andyfree96@126.com",
  };
  let response = await axios.post("http://localhost:3000/employees/", params);
  console.log(response.data);
}

makePostRequest();
|
获取员工,
1
2
3
4
5
6
7
8
|
const axios = require("axios");

async function makeRequest() {
  let response = await axios.get("http://localhost:3000/employees");
  console.log(response.data);
}

makeRequest();
|
删除员工,
1
2
3
4
5
6
7
8
|
const axios = require("axios");

async function makeDeleteRequest() {
  let response = axios.delete("http://localhost:3000/employees/4/");
  console.log(response.data);
}

makeDeleteRequest();
|
参考
Axios tutorial: http://zetcode.com/javascript/axios/
 AndyFree96 收录于 JavaScript


 支付宝
支付宝
 微信
微信